Monday, 3 November 2014

home made laundry detergent!

just a quick one
I have tried to find a good homemade laundry detergent...........I find the ones from the store always leave my washing machine which is a HE front loader gunky.

So here it is and although the cost is quite high initially it does last me nearly a year! which is always great.

2 boxes borax
2 big boxes baking soda
1 box Calgon water softner ( we have very hard water here)
2 buckets oxy clean
1 box clorax color brightner
2 bars of sunlight soap
2 boxes of washing soda
2 bottles of purex crystals just for smell.
1 big container to store it in
1 smaller container to put by machine
 
Most of this can be found in the isle with all the other laundry stuff
 
Just mix it all together
grate the sunlight soap
I put it all in one big container and fill the smaller jar and keep that by my machine.
You only need to use about 1tbsp for a regular load.
 

Gerbil Cages!

SO I Obviously have not been on here that much not that I haven't been busy cause well I have been just the whole DIY stuff has sorta slowed down and been taken over with work and other things.  But my dear sweet children somehow conned me into letting them get gerbils the other week and after doing some research on the little critters I knew that the homes we had purchased for them just would NOT do soooooo I made my own ( of course I did haha)
Here are some pictures and some instructions and of course please if your gonna buy a pet research first cause ugh. 


Shopping list: clear plastic containers.
                        Hardware cloth (got mine at home depot)
                        good knife!
                        measuring device - ruler or measuring tape
                        Tin snips
                        wire
                        duct tape
                        nuts and bolts
                        Jiffy marker


Step one:  buy some clear plastic containers bigger is better, try to get ones that have no ridges or bumps in the inside and that have lids that shut securely


these are the two I picked to fit and suit my daughters rooms
 
 Step two:  Assemble all the good stuff you are gonna need to make a gerbil cage!  here is all the stuff I used
 
  
all the good stuff I used to make the cages
 
 
Step three:  mark where you want to cut on the lid.  I left a strip down the middles for this one for more support 
 
 
Step four:  Now here this part is where I cursed and swore a bit (kids weren't home so thats ok right?)  cutting the holes out was the hardest part of the whole project!


 Step five: cut your hardware wire down to fit over the lid I just left it as one big piece and then start drilling holes for your nuts and bolts I used 10/32 1/4" bolts and of course the nuts to go with them.  Its easier to drill the holes as you are attatching the hardware wire to the lid cause then all the holes line up. (yes this was a lesson learned)
You can end your cage here and the little guys would be quite happy with you with more room and lots of space to tunnel and build nests.
But of course I have gone a few extra steps further


Step six: I had some scrap wood hanging around so I made a little platform for the gerbils as a halfway mark to the top.  The little cage on top is the one the pet store sold us telling my girls they were fine for gerbils which they are not....glad I did a bit of research on the critters I brought home.
To put the cage on top I cut a square out of the hardware cloth (make sure no sharp pointy parts were sticking out)  I then basically sewed the little wire cage to the hardware cloth with wire. 
 
 Step seven:  add a good layer of sawdust and all the rest of the stuff that gerbils love!  some boxes, toilet paper rolls, toilet paper itself, straw (clean please) and I added some dried moss.


So here are the two finished gerbil cages all and all a purty easy project oh and one more note to get rid of the sharp pointies on top of the cage I used some fun duct tape.


Since they have had these cages I also added a wheel to the side of the cage. 
and those gerbils are soooo happy!!!


Sunday, 16 March 2014

Monday, 24 February 2014

crate inspiration

Had someone ask me about a week back what to do with some crates that they had - well the ideas started coming I had some around my house mainly just holding bits of this and that - today I had some inspiration and finally did something with them-  and now that I have an idea for them hahah guess I will be on the hunt for more crates.


went from a picture similar to this one


to this - must say I am really liking it oh and really need to get better pictures for the barnwindow haha


Monday, 4 November 2013

Burlap curtains

Got my burlap from Home depot 11.00 a roll of 40" by 30'  so lots and way way way cheaper then any Fabric store. 

Made my hem along the top and added some "lace" just to make it softer and pretty.
total time for the four panels was about 2 hours - super easy, super cheap!  which is what this mama loves.


Thursday, 31 October 2013

Thrift store treasures

Went on a Thrift Store shopping spree a week ago and I made a few finds
but my favorite ones were these awesome lamps I found!  I was super excited to bring them home and then......it got even better I found out the bottoms light up so neat.....

I need to replace the shades but meh' no biggy right???


Tuesday, 10 September 2013

Up-cycle farm table

I wanted to make a new top for this table since the day we bought it - just never got around to it until NOW and only cause for some reason the leg fell off - I know so mysterious!!!

So here is before


And this is after still need to put some braces under it to keep the legs sturdier and I need to add a couple for coats of varnish - Also going to eliminate some of the chairs and put bench seating under the window - when I find time to paint the bench I have.


Thursday, 22 August 2013

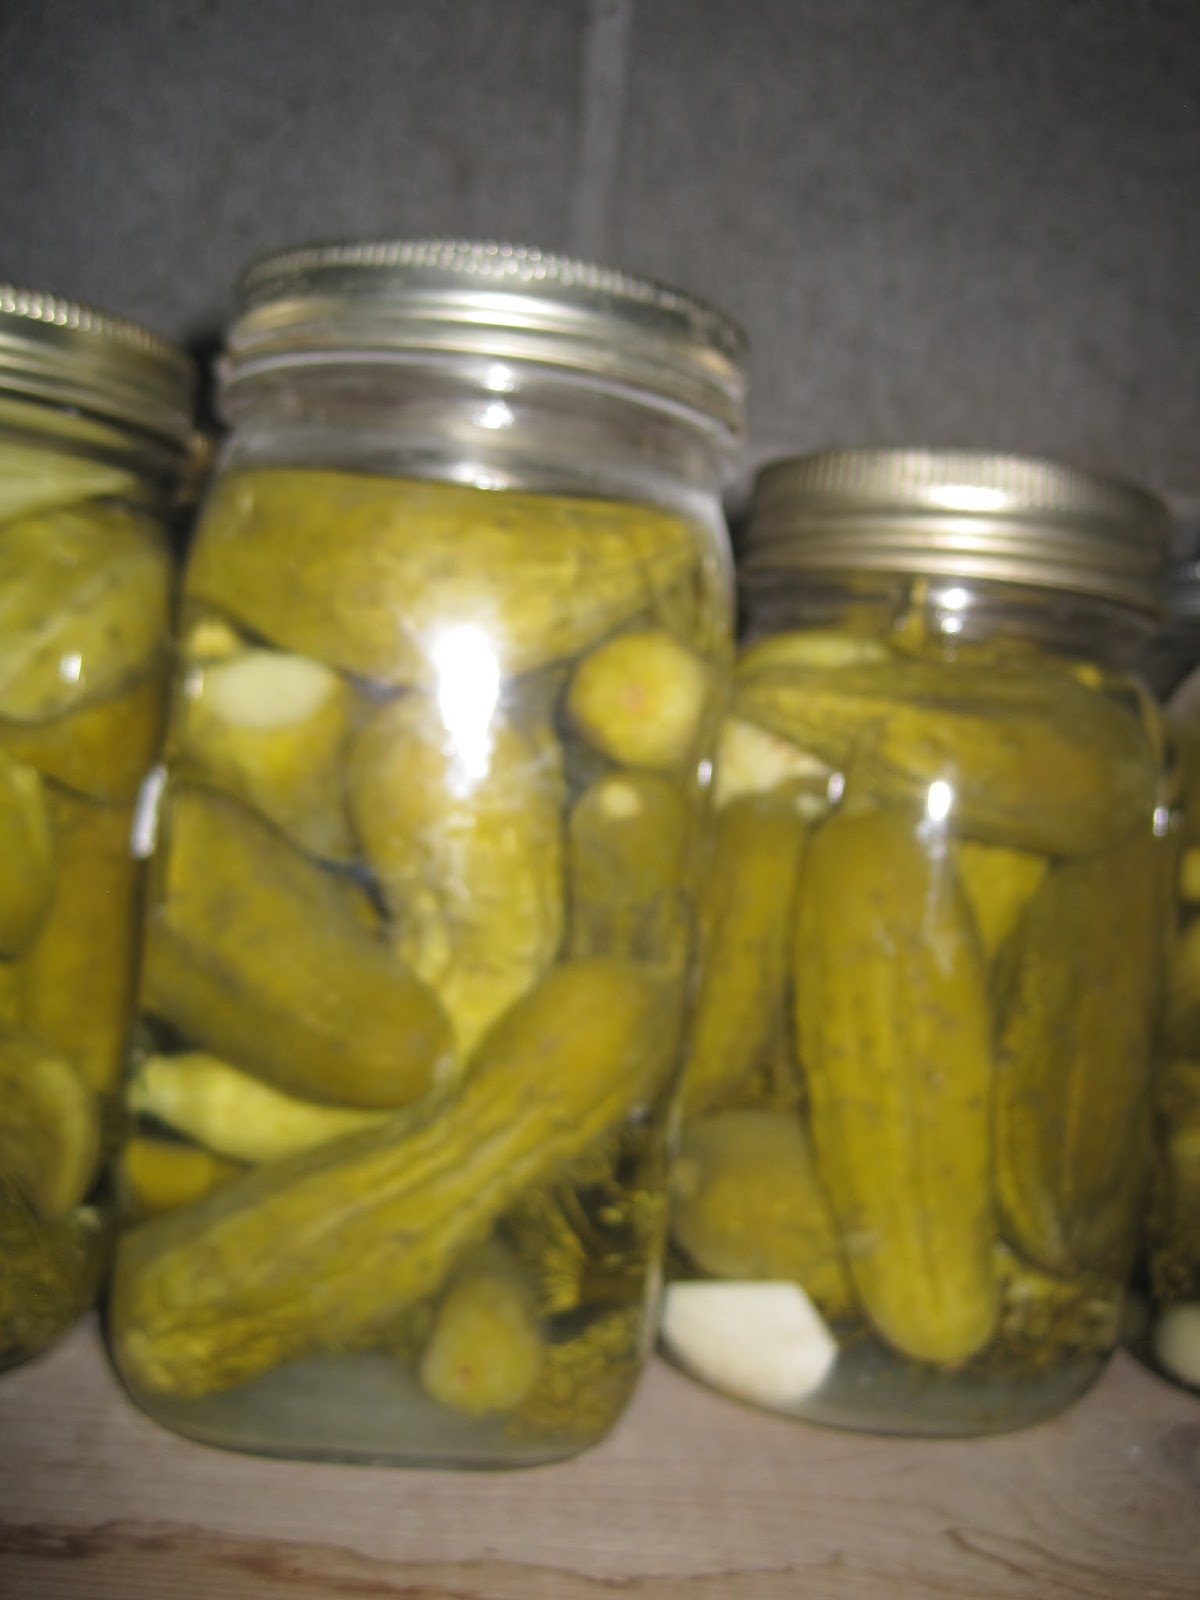
One Jar at a time Dill Pickles!


Recipe was given to my mom from a neighbor some twenty years ago and it has been used ever since!
NO BRINE, NO Soaking for x amount of hours and its perfect for the gardener that only gets to pick a few jars at a time worth of pickles or even if you are like me and you go and purchase your 30lbs worth of pickles...............This recipe also is great to let the kids help with the preserving.

I try to use 1 liter Jars wide mouth are easiest to use unless you have someone with little hands helping you to put the pickling cukes in


In Each jar place
1 Tbsp of pickling/course salt
1/2 cup of vinegar
pinch of Alum (keeps the pickles crunchy)
1 clove of garlic
1 head of dill
pickling cukes
top with cold water.
lids
seal in a hot water bath

as you can see by the pictures I have sliced and diced some of the larger of the pickling cucs for a quick grab for hamburgers and snacking.
I am not sure on the times for sealing but I think I usually add water to cover the jars once I place them into the canner and then bring the water back up to a boil and let it boil for a bout 10 minutes -

Tuesday, 6 August 2013

I have not totally forgotten my blog but with it being summer and having company I just havent had any real projects on the go........I have been doing some quading and just hanging at the house and the creek
hopefully once things slow down again in september I will have time to do some more projects around the house.

Thursday, 20 June 2013

Saturday, 4 May 2013

Chalkboard fridge

I seen it on one of the shows my kids watch and thought "I WANT THAT"  so I did that.

Chalkboard paint while expensive goes a long ways.  I bought the little jar $22 and it took less then a quarter to do the fridge 3 coats.  First step was to wash the fridge door very well then sand it with some steel wool or very ruff sand paper -  some tutorials will recommend priming with the magnetic paint first I didnt and the magnets still stick. .  Then paint it......wait for it to dry for ruffly 4 hours repaint, and then one more coat!  I let mine sit for 3 days like it says to before I "cured" it with chalk and now my kids are having a great time writing on it.  May still paint the handle and the bottom part one day.

Before

After

Monday, 22 April 2013

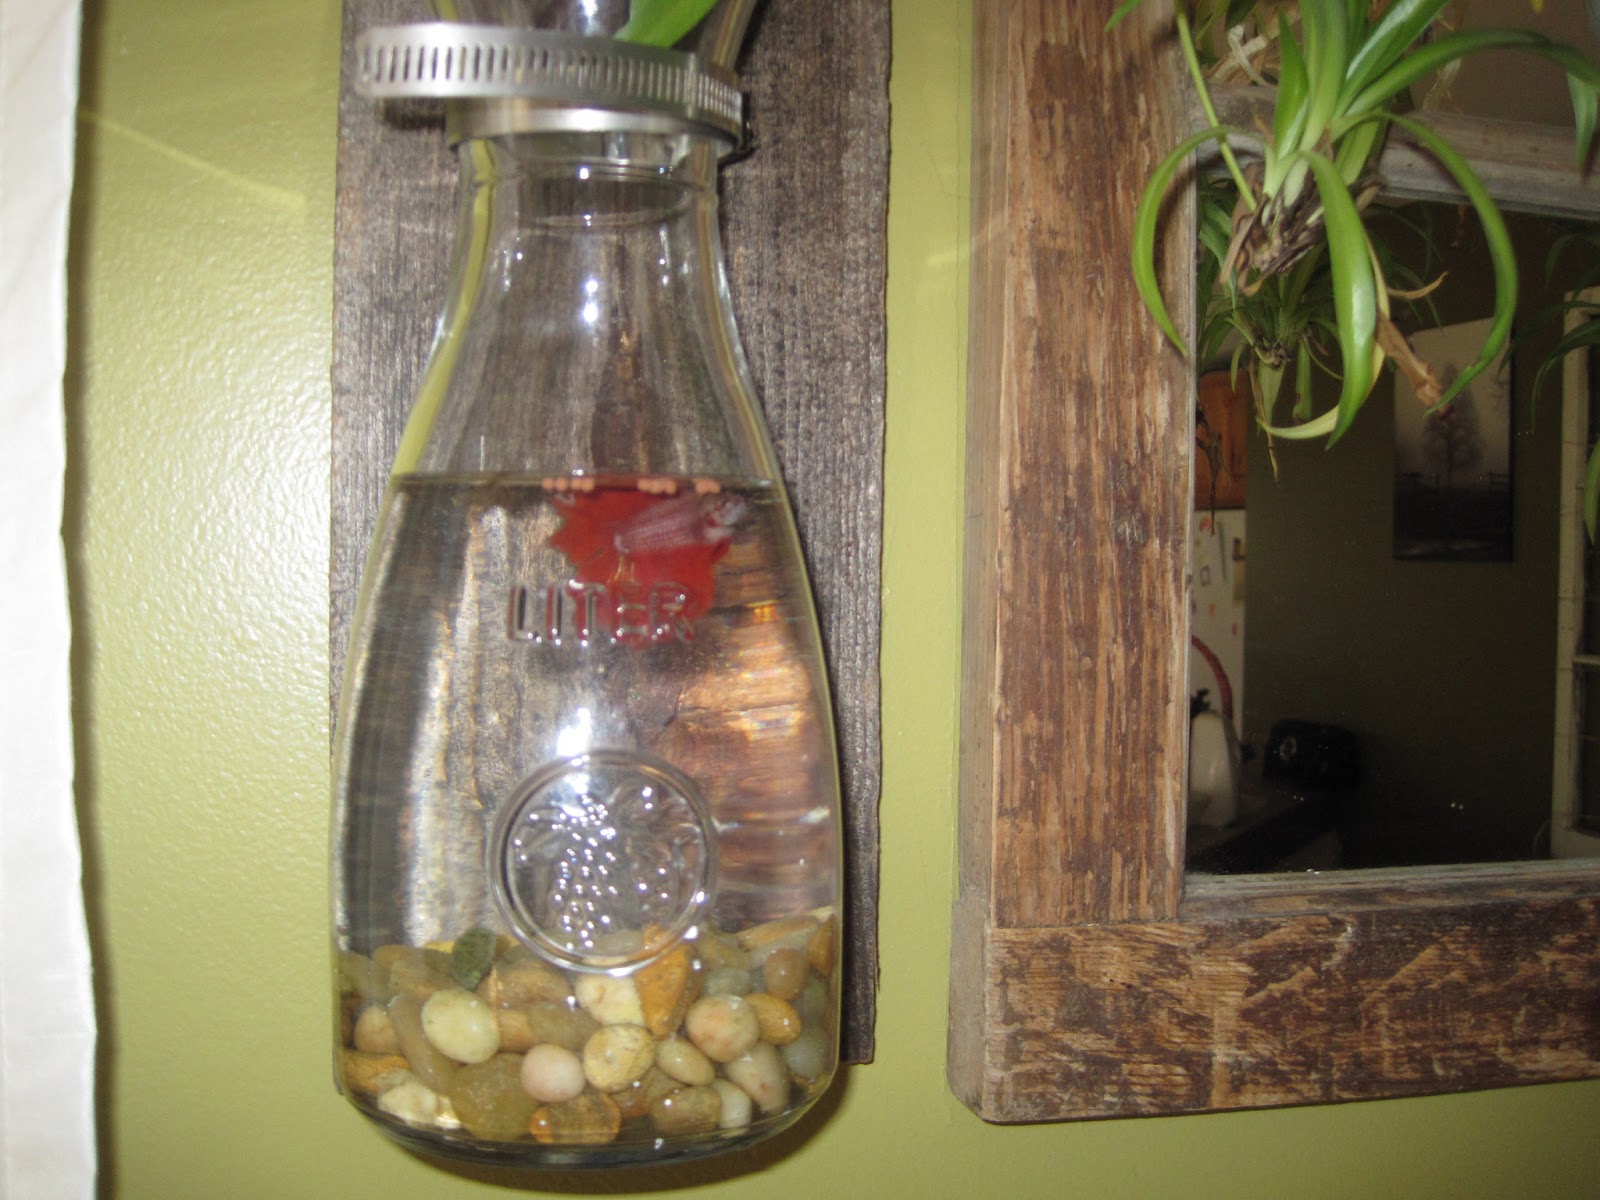
Meet Sherman

Finally did what I had originally wanted to do all along with my mirror and mason jars!   put fishies up on my wall sooooo - Meet Sherman!!!  - I need to get another Jar so I can put another fish on the other side.


my bucket light

Well just to add some fun and color I made this light for the Dining area.   Once again I means Hubby cause I dont do electrical.
So here is my bucket light - it might be tweaked and centered better some other day!  And yep that is a Burlap window treatment on the windows thanks to a friend at work who kept me the burlap bags.(Thanks Paige!!!)


Saturday, 9 March 2013

Cheese Grater Lights

Yep thats right! I did it... and by I, I mean hubby did all the wiring and alot of the other stuff but it was my idea ;)
I started out with all these bits and pieces

Did a little of this and a little of that and I ended up with this

 Soon ....soon my kitchen will be all finished its going at a rate of about 2 projects per weekend right now which is getting the honey-do list down quite nicely.

Friday, 1 March 2013

Kitchen stuff

I am sure by the end there will be oodles of kitchen posts cause this is going to be a long process.
Here is another wall "almost" finished needs some trim but I figured I would get all that done in one day

Wednesday, 23 January 2013

New Kitchen

Where have I been for over a month?
Well between all the holiday celebrations - getting back into some kind of routine - I have been working hard on our kitchen
Last year at around this time I found a set of knotty pine cabinets for my house - since then we have been planning, tearing out walls and cabinets, putting in walls and cabinets,  taking a break and then going at the whole project again so............
A LOT of work later and hubby finally deciding that yes I get control over decorating/designing decisions
Here it is............
We still have a long ways to go such as flooring, some finishing work, light fixtures and all that good stuff  but I have been working very hard the last few weeks on getting some of this done so I decided I would share it with you


One of the things I LOVE LOVE LOVE about my kitchen is my backsplash and it was a fight to get it but..... soooo worth it!!!

Tuesday, 11 December 2012

Oh Christmas Trees

We gave buying those nice perfect Christmas trees from the farm or lot sooo our trees are what they are!!! and sometimes that is not to great but this year I must say we did not to bad. First you have to locate your trees and we did so


Decorating the trees was fun!!
 the kids did the downstairs tree and it only fell over once so now its tied to the wall hahaha! usually is every year cause we have an "incident"
We had the issue of where to put the upstairs tree usually its in the corner where I put my old washing machine but its to big and heavy to move here and there + add the factor of a puppy that is left unsupervised occasionally so the tree either had to be up out of the way or not be there at all.   I just figured it would be easier to use the washing machine as a Christmas Tree stand.  I did the upstairs tree and I must stop fiddling around with it.  A few more decorations here and there and I think my house will be Christmasy enough.


Tuesday, 4 December 2012

Let Christmas Begin

Normally I do not decorate early but I figured I would start doing little bits at a time here and there soooooo here is my front entry (that NO-ONE uses) and stair well area  Its a beginning and anyone who knows me knows this is Very highly unusual cause I am quite a Grinch.


Monday, 3 December 2012

My Rustic Christmas Ornaments

 So I this year for Christmas I get to have the upstairs to make a grown up matchy match Christmas and the kids get downstairs to put up and decorate with all the old stuff that I dont want .  So I have been making most of my own Christmas decorations
here is some of the ones I came up with today I have many more but just havent bothered to take pics of each and every one of them
these today are just made of bits of this and that  that I had around the house.


No step by step tutorial cause that's just not my thing - really its cause most times I dont remember to take pics and the how to notes until the very end and by then I am done doing. 
But at least it can help give some ideas.
OH and I redid the burlap wreath cause the bow was TO country for my taste soo here it is