Tuesday, 10 September 2013

Up-cycle farm table

I wanted to make a new top for this table since the day we bought it - just never got around to it until NOW and only cause for some reason the leg fell off - I know so mysterious!!!

So here is before


And this is after still need to put some braces under it to keep the legs sturdier and I need to add a couple for coats of varnish - Also going to eliminate some of the chairs and put bench seating under the window - when I find time to paint the bench I have.


Thursday, 22 August 2013

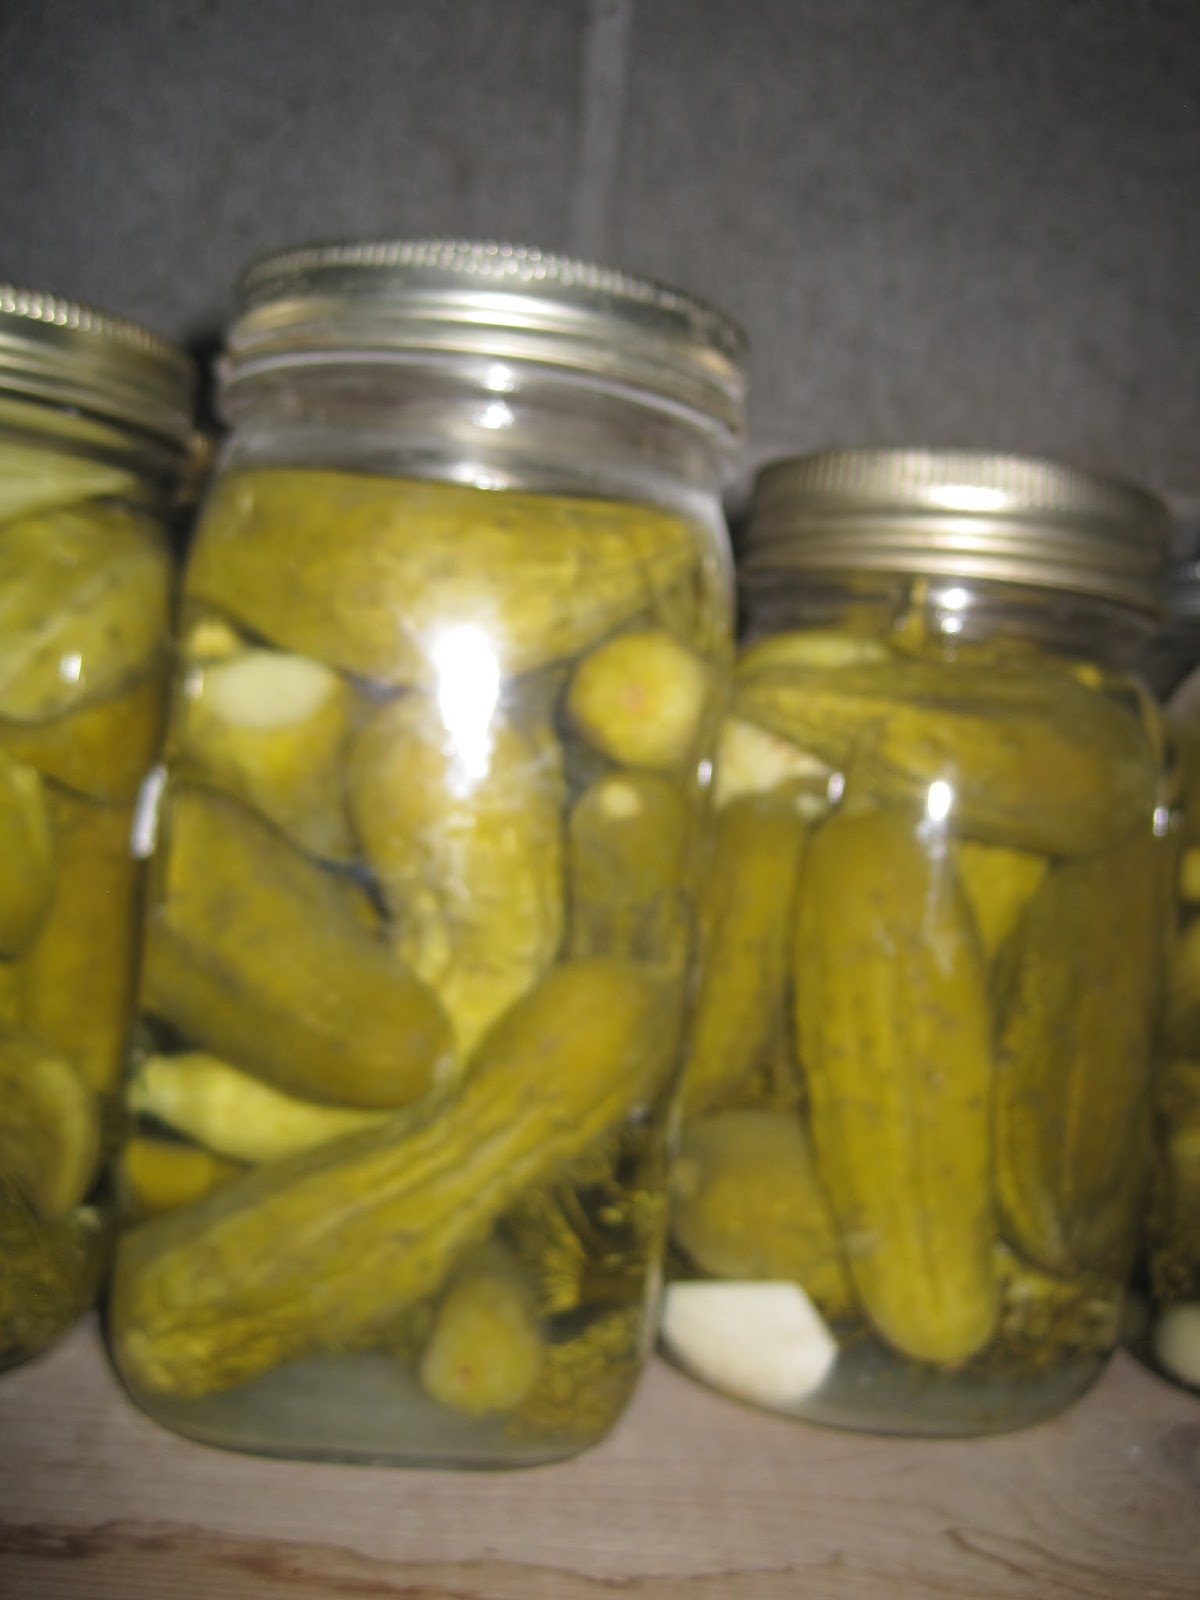
One Jar at a time Dill Pickles!


Recipe was given to my mom from a neighbor some twenty years ago and it has been used ever since!
NO BRINE, NO Soaking for x amount of hours and its perfect for the gardener that only gets to pick a few jars at a time worth of pickles or even if you are like me and you go and purchase your 30lbs worth of pickles...............This recipe also is great to let the kids help with the preserving.

I try to use 1 liter Jars wide mouth are easiest to use unless you have someone with little hands helping you to put the pickling cukes in


In Each jar place
1 Tbsp of pickling/course salt
1/2 cup of vinegar
pinch of Alum (keeps the pickles crunchy)
1 clove of garlic
1 head of dill
pickling cukes
top with cold water.
lids
seal in a hot water bath

as you can see by the pictures I have sliced and diced some of the larger of the pickling cucs for a quick grab for hamburgers and snacking.
I am not sure on the times for sealing but I think I usually add water to cover the jars once I place them into the canner and then bring the water back up to a boil and let it boil for a bout 10 minutes -

Tuesday, 6 August 2013

I have not totally forgotten my blog but with it being summer and having company I just havent had any real projects on the go........I have been doing some quading and just hanging at the house and the creek
hopefully once things slow down again in september I will have time to do some more projects around the house.

Thursday, 20 June 2013

Saturday, 4 May 2013

Chalkboard fridge

I seen it on one of the shows my kids watch and thought "I WANT THAT"  so I did that.

Chalkboard paint while expensive goes a long ways.  I bought the little jar $22 and it took less then a quarter to do the fridge 3 coats.  First step was to wash the fridge door very well then sand it with some steel wool or very ruff sand paper -  some tutorials will recommend priming with the magnetic paint first I didnt and the magnets still stick. .  Then paint it......wait for it to dry for ruffly 4 hours repaint, and then one more coat!  I let mine sit for 3 days like it says to before I "cured" it with chalk and now my kids are having a great time writing on it.  May still paint the handle and the bottom part one day.

Before

After

Monday, 22 April 2013

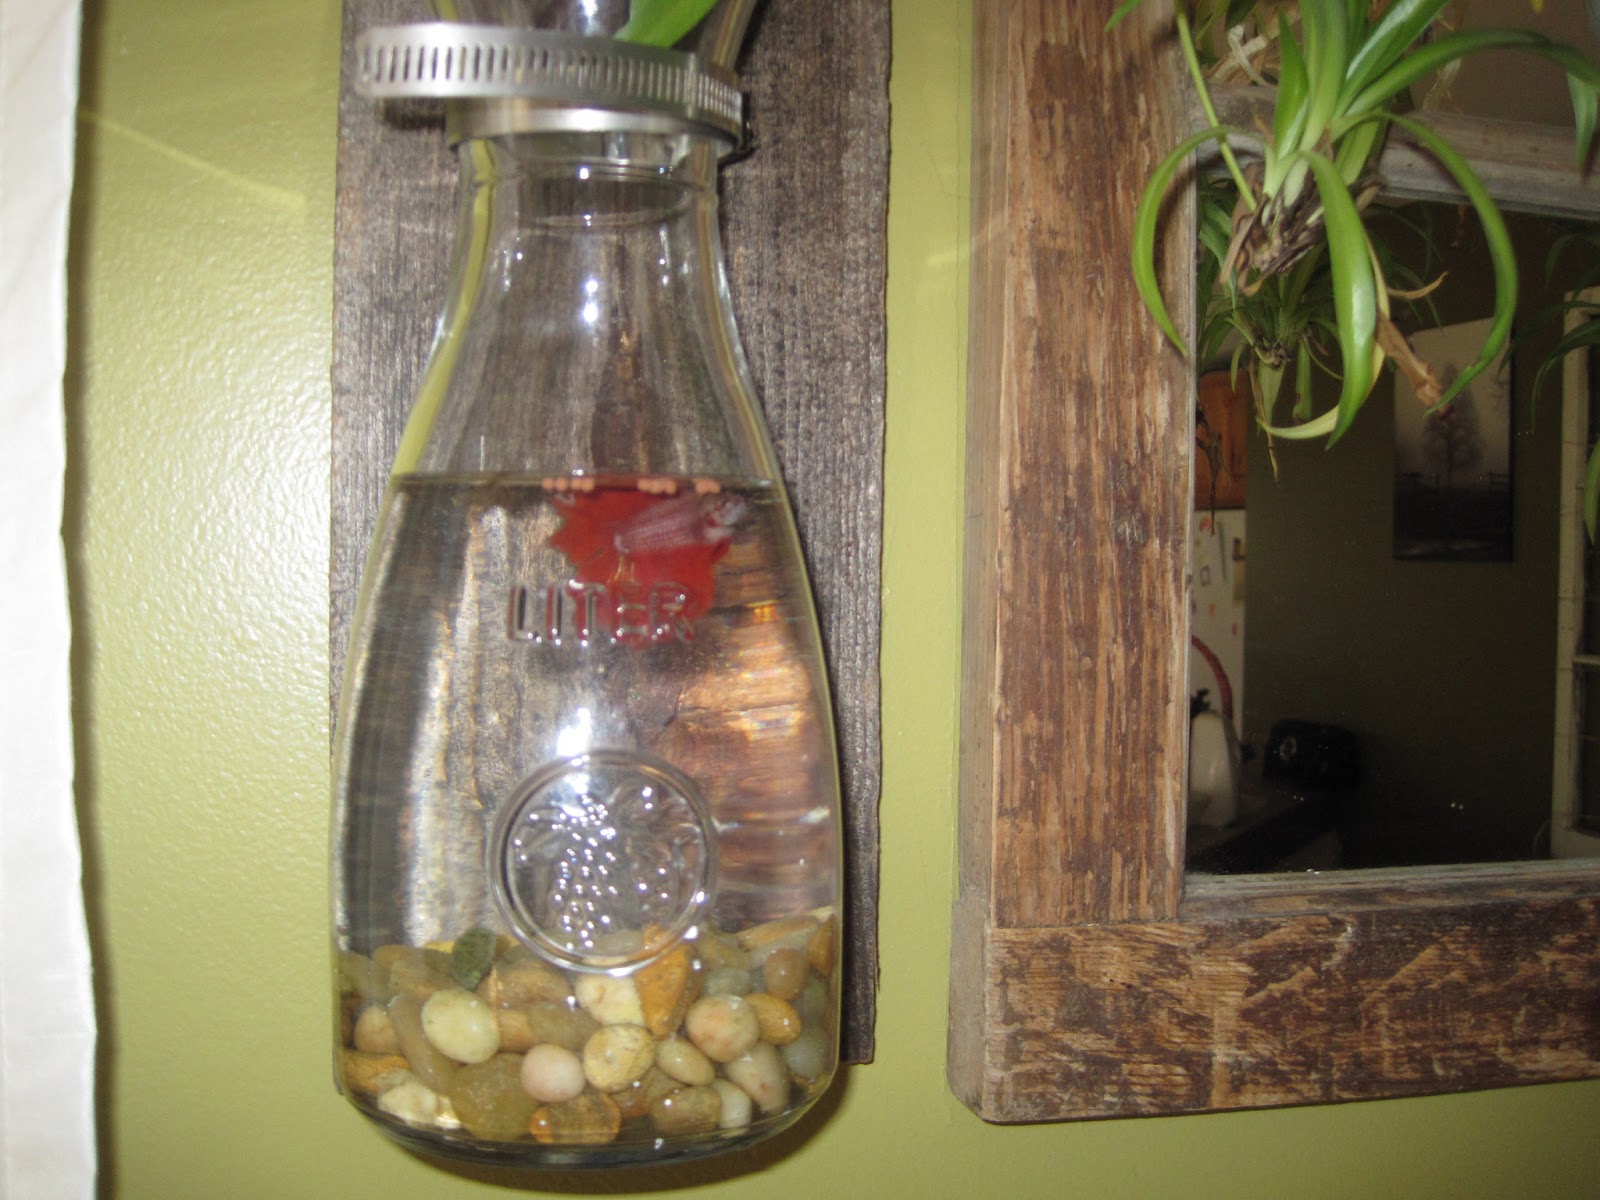
Meet Sherman

Finally did what I had originally wanted to do all along with my mirror and mason jars!   put fishies up on my wall sooooo - Meet Sherman!!!  - I need to get another Jar so I can put another fish on the other side.


my bucket light

Well just to add some fun and color I made this light for the Dining area.   Once again I means Hubby cause I dont do electrical.
So here is my bucket light - it might be tweaked and centered better some other day!  And yep that is a Burlap window treatment on the windows thanks to a friend at work who kept me the burlap bags.(Thanks Paige!!!)