Wednesday 25 April 2012

Aging wood

I dont have the patience to wait for wood to age naturally outside so I searched and searched and came up with a few different recipes for aging wood but the most common one is to put steel wool into vinegar let it sit for a couple of days (The mixture may not look much different but it will work)  then brush that mixture on your wood.  your wood of course must be free of all paint or stains .
I did it for the crates and here is the difference it makes

I found each wood reacts a bit differently to the mixture and how long your mixture has been sitting also makes a difference
I tried a batch of age stain  in an old coffee container that had some grounds left in it and it made that stain go a bit browner then just the plain type.  found a new one - pennies in vinegar supposed to make it blue/gray - have to try this yet.  So no clue if it actually works but you know I am gonna give it a go!!!

Benefits of working at a grocery store are?.....

Small Pallets & Grape Crates
My boss might officially think I am crazyish (which I dont deny) when he saw my excitement over finding a half size pallet ok i didnt find it they were going to toss it and I screeched in excitement and put a halt to it just before it went into the compactor.  He didnt really understand and kinda wrinkled his nose but handed it over anyways and I know I have seen even smaller ones then the one I saved from the compactor. 
Sooooooo.........imagine walking around collecting your stuff ( I make salads) from the produce department when you spot these

You'll get the joy if your a person who likes to upcycle and repurpose wood cause like you cant find 101 useful things for these lovely crates

Tuesday 24 April 2012

Mirrors and Mason Jars

Ok So I didnt make the mirror my Mom and Dad did out of a window they got from my uncles farm so its a real legit barn window whoohoo.  I got the idea for the mason jar plant holders from Here  of course I did my own thing with it a bit.  but anyways yup once again I love it and it hides the rather poor drywall/plaster job that is behind it. ;)   ( I am not a photographer thats for sure all my pictures end up crooked oh well)

Barnwood Wainscoting All Done

My barnwood wainscoting is all finished I am loving it so much!!!!  The trim was all new wood that I aged with the aging method that I use found HERE 
I still need to make some curtains - I am thinking something burlapy maybe


Funny you dont see those gaps just sitting here


carried it through to the dining area

Eggs in the bator

Sooo its that time of year again
8 eggs are in the incubator - yes its a cooler with a light bulb in it. 
some should hatch on MAY 1 (we hope)  I am purty sure two are no good as I candled them a few days ago and not much was going on in them.
and some on May 7ish.
Which reminds me * make a cat proof brooder  *

Sunday 22 April 2012

Barnwood Wainscoting the beginning


So the whole point of getting all the wood and starting this whole new decorating scheme of mine was so I could eventually pick a room in my house and do Barnwood wainscoting.  This was a hard choice for me cause once its up well its up and it would be a whole lot of work to take it down and fix what was behind it but.........seeing as our basement is still a work in progress I decided I would decorate my upstairs and get it finished before I started decorating the basement cause I would probably have to tear some of it out to finish basement.
So its the living room and dining area that got the barn wood.  This is not a weekend project for a beginner.
Thank goodness for power tools the Brad nailer made this job a lot quicker then if I had to nail it all by hand.
Also it took about two weeks of prep time - each board was cut to the basic length of 36" and then sanded and polyed twice!  I now loathe sanding *next purchase will be a sander!  I left all the imperfections actually I picked boards with knot holes and dings and dents and what nots.


I think it got left this way for about a week before I had time to tackle it all again and finish it off

Saturday 21 April 2012

Toilet paper roll wall hanging

Yep its made out of cut up toilet paper rolls then spray painted with a hammered bronze spray paint.  I do need to repin it to my wall cause I pinned it up a bit crooked.  One would think it would take a long time to save up enough toilet paper rolls to make something this big but with three girls in the house it takes no time at all.  We are currently saving more for a project for my oldest daughter to do when we redo her room one day -  So how to do this is quite simple - Hot glue gun is a must have!!!
i save and save and save toilet paper rolls and then I cut them all into equal sections and squish them flat (they kinda end up flat after the cutting of them anyways)  and then just start with a pattern and start hot gluing if you google toilet roll hangings/art  you will get lots of nifty ideas or just go with your own.

Coffee Table Love

Soo with this "Barnwood" and a old window I got from the Army camp here in Vernon
I made a shadowbox type coffee table
 And I must say I am purty proud of it comming from little ole me Oh and it helps that Hubby bought me a new Miter Saw I was sooo ecstatic getting that nice new toy

The legs I aged and made out of new pine Hubby was amazed how crappy I could make nice clean  new wood look in a matter of minutes


My porch

So hubby added a porch the first year we moved into our house and it has always just been that!  I really want to run with my shabby/chic/country/crappy house ideas and I figured what better room to start its small not to overwhelming - I can do this right?
First was looking up ideas - honestly thank goodness for Pinterest I always have ideas and thoughts of what I want to do but its nice to pick them out as a picture and shove them somewheres for when I need them..
Got my ideas and I am running with it

I turned this bench with storage (great for hiding winter boots and such in)
 Into this I love it
 This shelve here in this picture
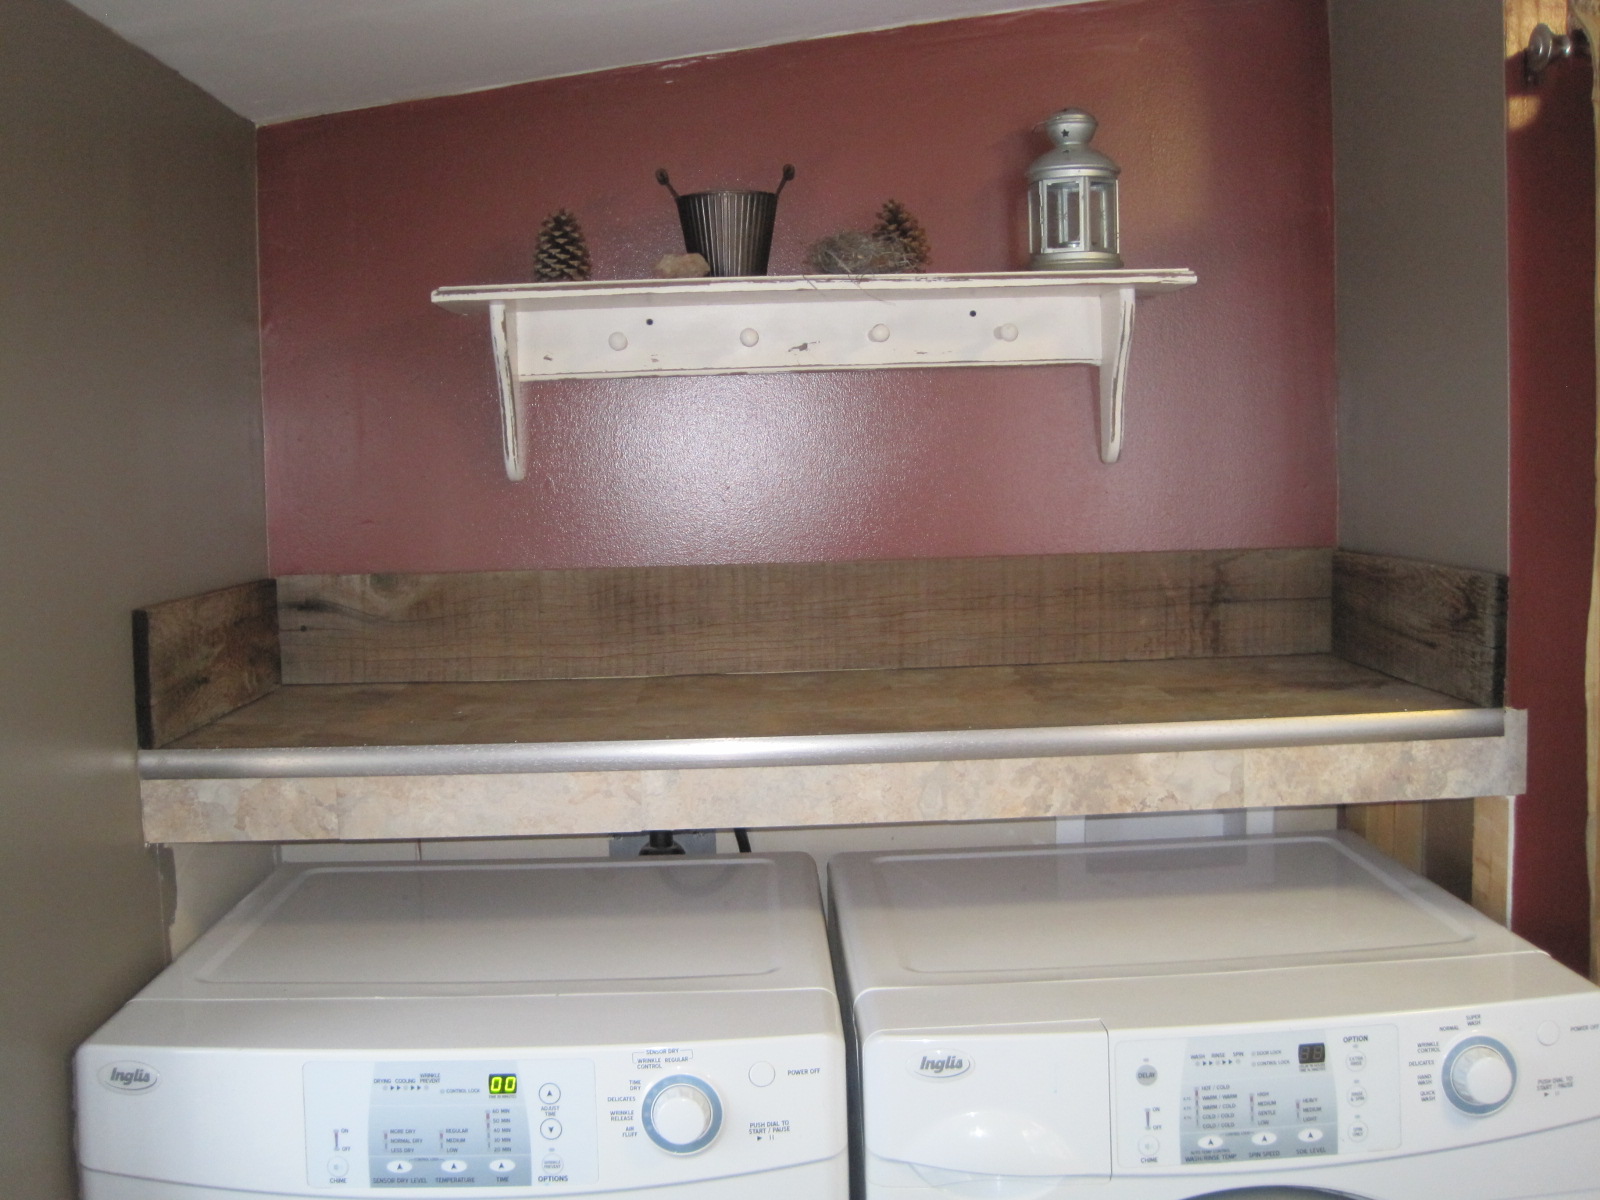
 and the space here above my washer and dryer

Got turned into this
My favorite part is my sign that I made!!


Of course you can see the paint color differences and all that but yep this was the room that has started it all and I am sure as I go along I will go back to this room and make some more changes

Why not it saves counter space

Toothbrush holder!
I got the idea sorta from here but made it to suit my small space of the one bathroom of our house.
I was also just wanting a quick fun project to do and to see how my "barnwood" would look.  start small work my way up - you know- that kind of idea
but here it is.


Barnwood!!!

Sooo where to start............
I have always wanted to "barnwood" something!!! how could you not? its wonderful stuff - unfortunately barn wood is hard to come by - the real stuff that is.  but if you advertise in the local buy and sells sites that you are looking for old looking/aged wood its amazing how many people are willing to let you come and tear down a fence or something (GO FIGURE).  So this is how I started.  I got lots of replies.
I did manage to get a large pile of it beside hubbies "shed/shop"
So you will now see in some of future posts pictures of projects of the lovely "barnwood" stuff that I have made.